If you’re staring at a patchy dirt yard and wondering how artificial turf actually gets installed on it, you’re in the right place. This guide walks through every step of the process — whether you’re planning to DIY a small area or just want to understand what a professional installer does before you request a quote.
Start With the Dirt You’ve Got
Here’s the thing most guides skip: not all dirt is the same. And in North Texas, the dirt you’re working with is probably clay soil.
Clay is dense, sticky when wet, and cracks when it dries out. It doesn’t drain well on its own. That matters because drainage is the single most important factor in a turf installation that lasts. If water pools under your turf, you’ll end up with soft spots, shifting, and a surface that feels like a waterbed.
Before you do anything else, you need to understand what’s underneath. Grab a handful of soil from where you’re planning to install. If it clumps together and holds its shape, you’re dealing with heavy clay. That’s most of Denton, Frisco, Plano, McKinney, and really the entire DFW Metroplex.
This isn’t a dealbreaker. It just means proper base prep is non-negotiable.
Step 1: Clear and Excavate the Area
First, remove everything. Existing grass, weeds, rocks, roots — all of it needs to go. You’re excavating down about 3 to 4 inches below your desired finish height.
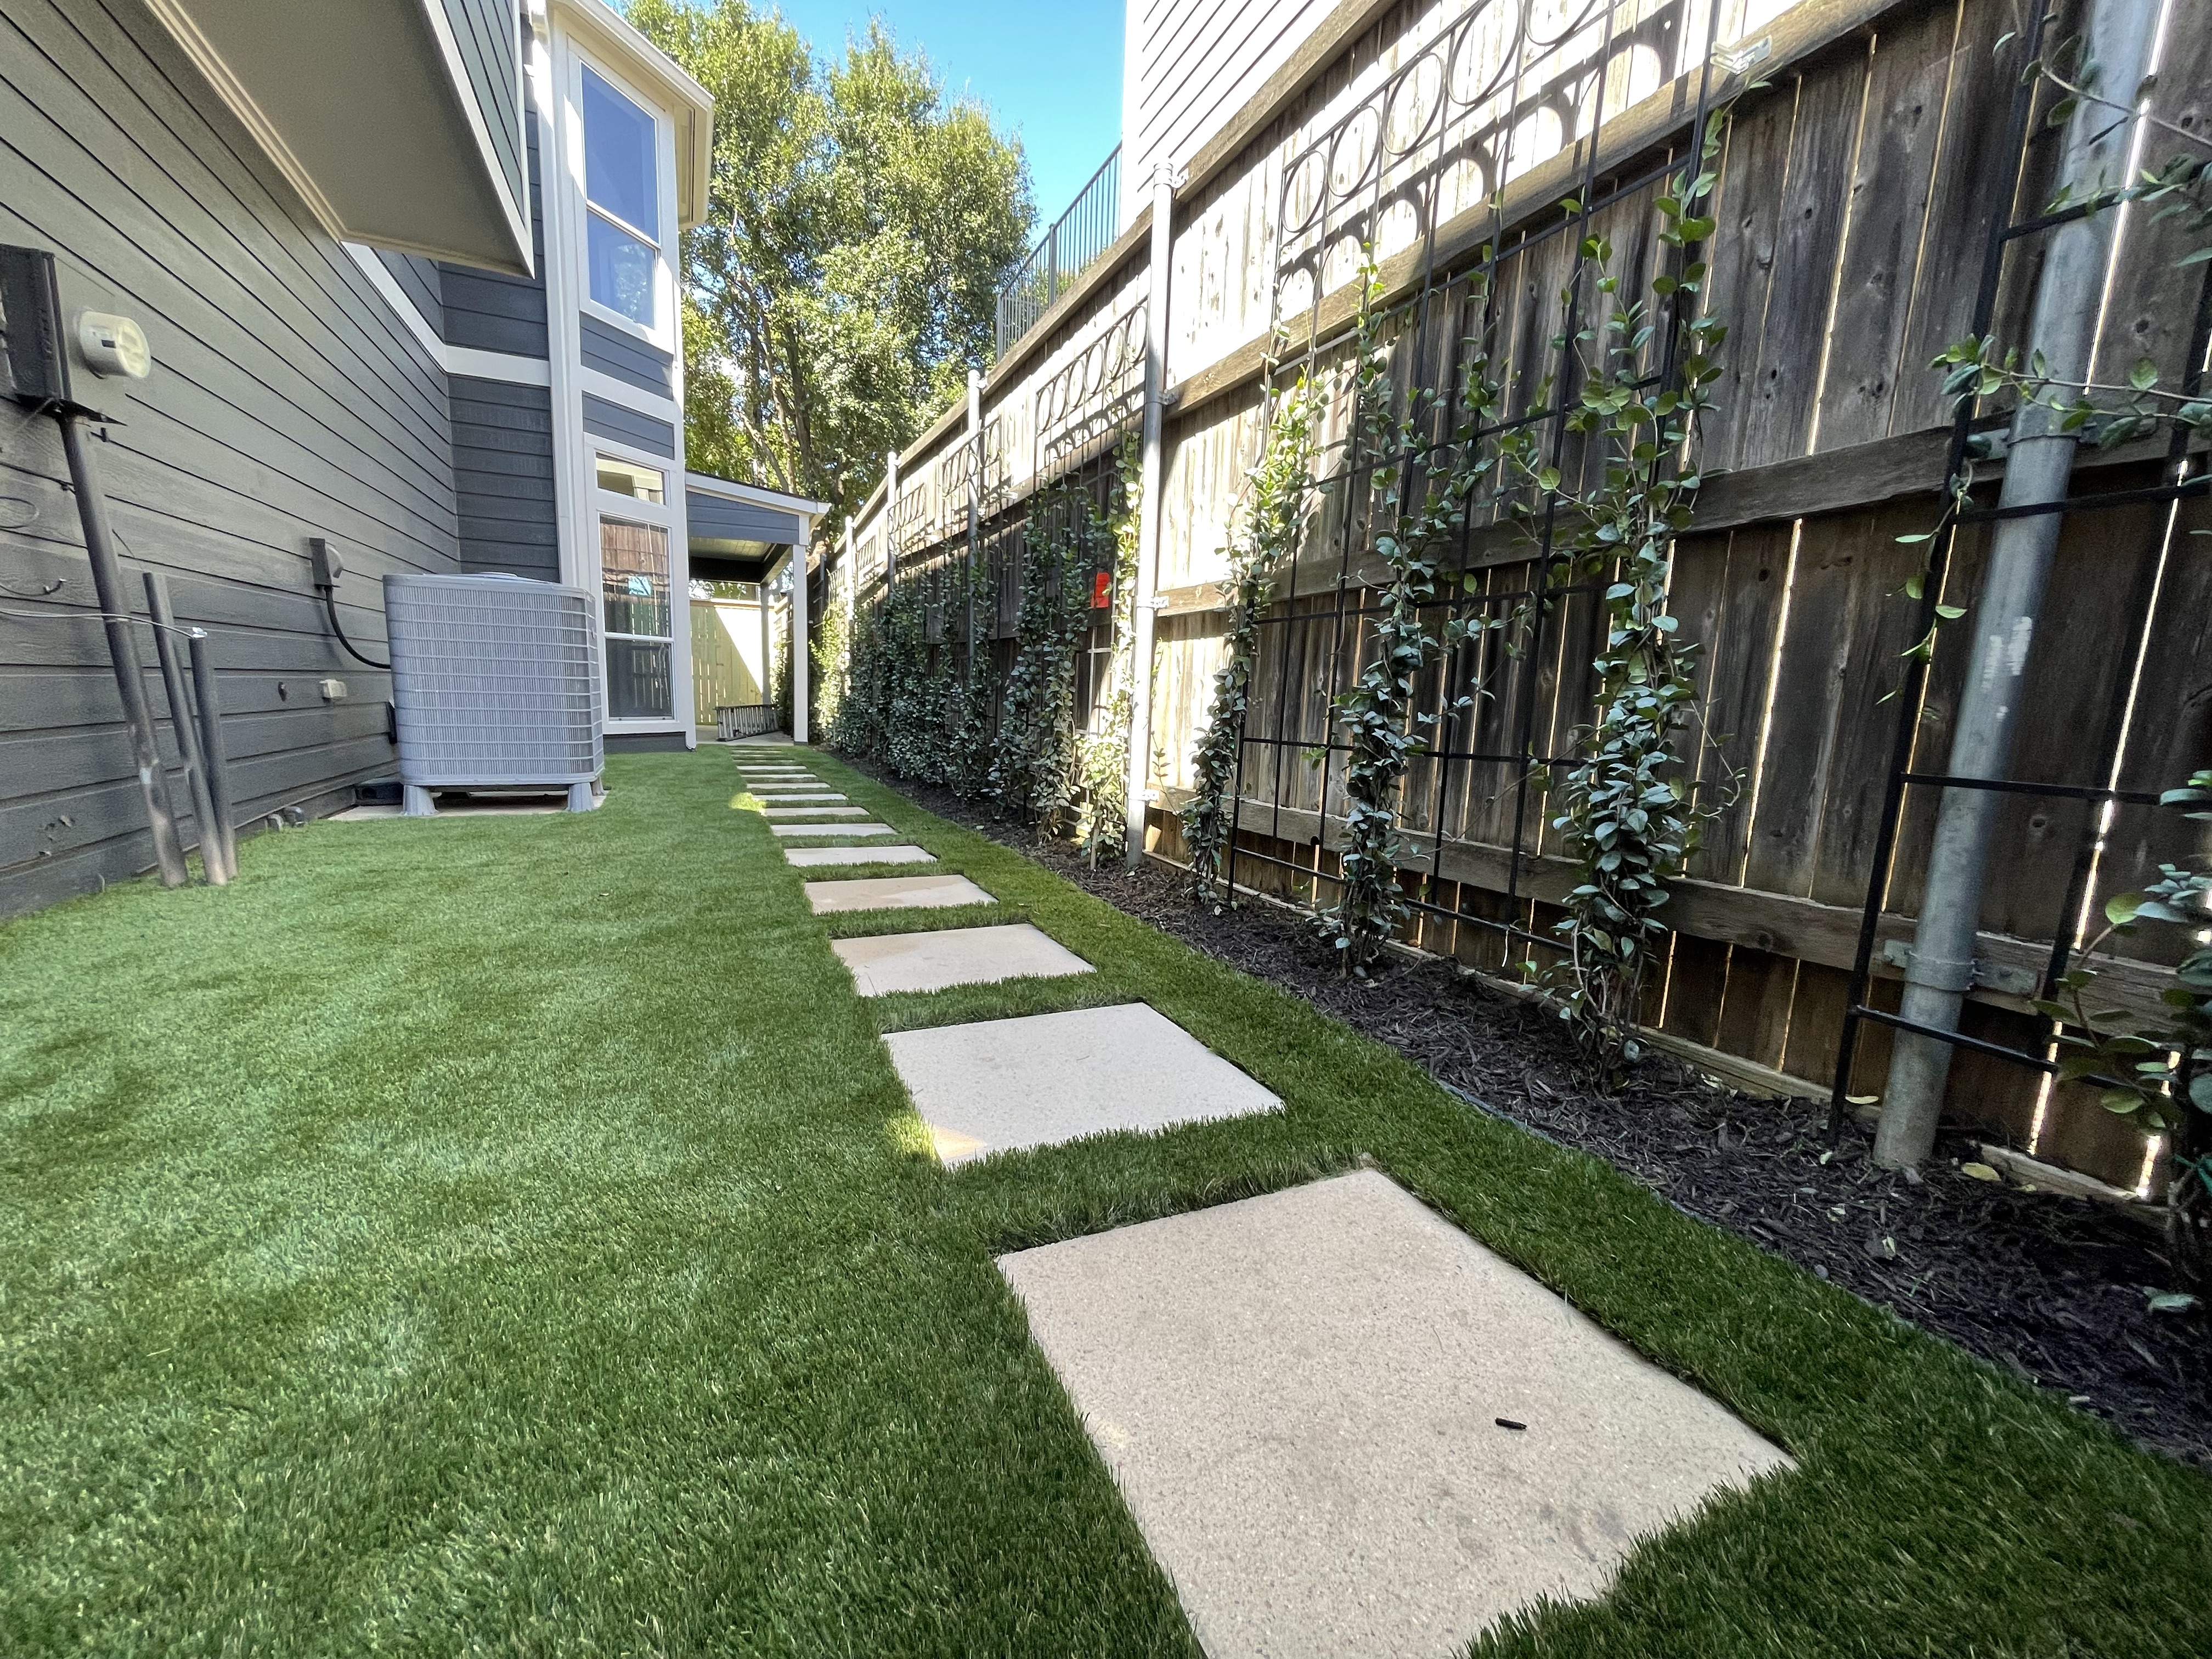
Mark your borders with stakes and string line. This gives you a clean edge to work toward. If you’re installing turf next to a patio, walkway, or existing landscaping, those edges define your workspace.
For a small backyard project, a flat shovel and wheelbarrow will get the job done. For anything bigger than a couple hundred square feet, you’ll want a sod cutter or a skid steer. This is one of those steps where the scale of the project determines whether DIY is realistic.
Step 2: Grade the Soil
Grading is where you create the slope that directs water away from your house, fence, or any area where standing water would cause problems.
A general rule: you want about a 1% to 2% grade, which means the surface drops about 1 inch for every 8 to 10 feet of length. That’s enough to move water without creating a noticeable hill.
In DFW, this step matters more than in drier climates. We get heavy downpours — sometimes 2 or 3 inches in an hour. If your base isn’t graded properly, that water has nowhere to go.
Use a landscape rake to smooth the soil, and check your grade with a level and a straight board. Compact the soil with a plate compactor or hand tamper. You want a firm, even surface before anything else goes down.
Step 3: Install Weed Prevention
Weeds are persistent. Even under turf, they’ll find a way if you let them.
A quality installation uses commercial-grade weed barrier fabric laid directly over the native soil. This isn’t the cheap stuff you grab off a shelf at a garden center. It’s a heavy-duty geotextile that blocks weed growth while still allowing water to pass through.
At Green Forever Turf Texas, we go a step further with a Venix chemical treatment — a professional-grade weed prevention product that covers 1,000+ square feet per application. It creates a secondary layer of protection that keeps weeds from ever getting a foothold.
Most DIY installations skip this step or use a thin landscape fabric that breaks down in a year or two. That’s how you end up pulling weeds through your turf seams three summers later.
Step 4: Lay the Base Material
The base layer is the foundation of your entire installation. Skip this or cut corners, and everything above it suffers.
The standard is crushed decomposed granite or crushed rock, spread to a depth of about 2 to 3 inches. This material compacts tightly, creates a stable surface, and — this is the key part — drains extremely well.
Spread the base material evenly, then compact it with a plate compactor. You’ll want to make at least two or three passes. The surface should be firm enough that you can walk on it without leaving footprints.
Check your grade again after compaction. The base layer should follow the same slope you established on the soil underneath.
This is the step that separates a professional installation from a weekend project. Proper compaction requires the right equipment and experience. Under-compact the base, and your turf will develop waves and dips within the first year. Over-compact it in the wrong spots, and you’ll create drainage problems.
Step 5: Roll Out and Position the Turf
Lay your turf rolls across the base with all pieces running in the same direction. The grain of artificial turf (the direction the blades lean) needs to be consistent across all pieces, or you’ll see visible color differences where panels meet.
Let the turf acclimate for at least 30 minutes in the sun before trimming. This relaxes the backing and makes it easier to work with. In a Texas summer, it won’t take long.
Trim the edges with a sharp utility knife, cutting from the back side of the turf. Leave about half an inch of excess for now — you’ll fine-tune the edges after securing.
Step 6: Seam the Pieces Together
If your project requires multiple pieces of turf, seaming is where craftsmanship shows.
Butt the edges of two pieces together so the blades interlock naturally. The seam should be invisible when you’re done. Use seaming tape and adhesive underneath the joint, then press the edges together firmly.
Bad seams are the most common flaw in DIY installations. If the edges overlap, you’ll see a ridge. If they gap, you’ll see a visible line. If the grain direction doesn’t match, you’ll see a color shift at every seam.
Professional installers do this daily. It’s one of those skills that looks simple but takes real practice to get right.
Step 7: Secure the Edges
Nail the turf perimeter down with 5 to 6 inch galvanized landscape spikes, spaced about every 6 to 8 inches along the edges. Drive them through the turf backing into the base material.
If you’re bordering against hardscape — a patio, driveway, or walkway — you’ll use bender board or aluminum edging to create a clean transition.
Around curves and irregular shapes, you may need to make relief cuts in the backing to let the turf lay flat without bunching.
Step 8: Apply Infill
Infill is what keeps the turf blades standing upright and gives the surface its natural feel underfoot. It also adds weight that keeps the turf in place.
The most common infill for residential turf is silica sand or a blend designed for your specific product. Spread it evenly with a drop spreader, then brush it into the fibers with a power broom or stiff push broom.
For pet areas, the infill matters even more. Products like Zeodorizer — a natural pumice stone deodorizer — combined with antimicrobial ethanol sand eliminate odors at the source rather than just masking them. If you’re installing turf for dogs, this is worth the investment. Check out our pet turf installation page for more on that.
Step 9: Brush and Inspect
Once the infill is in, brush the entire surface against the grain to stand the blades up. This is what gives your turf that lush, natural look.
Walk the entire area. Check for soft spots, wrinkles, seam issues, or any edges that didn’t lay flat. Fix problems now — they don’t fix themselves.
Why Base Prep Is the Whole Game
If you take one thing from this guide, make it this: base prep determines everything.
The turf product matters. The infill matters. But if the ground underneath isn’t graded, compacted, and draining properly, none of it matters. You’ll get puddles, wrinkles, weed growth, and a surface that shifts with every heavy rain.
Quality turf drains at 400 inches per hour — that’s 8 to 10 times faster than natural grass. But that water has to go somewhere after it passes through the turf. The base layer and the grading underneath are what make that happen.
In North Texas, where clay soil fights drainage at every turn, this isn’t optional. It’s the difference between a turf yard that looks great for 15 years and one that looks rough after two.
DIY vs. Professional Installation
For a small area — a side yard, a dog run, maybe a balcony — DIY is doable if you’re handy and patient. The materials are available, the process is straightforward, and the scale is manageable.
For anything larger, professional artificial turf installation pays for itself. Base prep, seaming, drainage engineering, and getting the grade right across a full backyard — that takes equipment and experience.
Green Forever Turf Texas has completed over 2,500 installations across North Texas and beyond. Mark A. Du Pont has 28 years of experience in the industry, and his crew works with him side by side on every project. Before they leave your property, they make sure you’re completely satisfied and that the job meets and exceeds your expectations.
Wondering about what artificial turf costs in Texas? We break that down in detail.
Get It Done Right
Installing artificial turf on dirt is a straightforward process — but the details matter. Grading, compaction, weed prevention, seaming, and infill all need to be done correctly for the result to hold up through DFW summers and surprise downpours.
Whether you tackle it yourself or bring in a pro, now you know what the process actually looks like.
Ready to see what artificial turf can do for your yard? Call us at 844-91-GREEN (844-914-7336) or request a free quote.